macpro build - day 4
August 30, 2020
With the PCI slots sorted out, it’s time to turn to the processor tray. This was well trodden territory - upgrading the memory in the 5,1 Mac Pro was something almost everyone did (Apple’s memory prices are…rough, to say the least), and I remember the CPU replacement process dimly from my days in the blue t-shirt (the ridiculously long hex driver has a special place in my heart).
We’ve got two things on the docket for us to work on. First, I’m going to remove the old pair of quad core processors and pop in our fancy pair of hexacore processors. Second, I’ll remove the current batch of memory sticks at drop in a truly absurd sextet of 16 gig DDR3 1333 MHz DIMMs. This would also be a good time to upgrade the bluetooth and wifi cards, if I were so inclined. The bluetooth upgrade to support handoff/watch unlock is pretty tempting, so I might return to this at a future date, but this is not a machine that I’ll be using on wifi. I’ve got ethernet available anywhere that I would want to drop this Mac Pro, and I will always choose wired over wireless. For now, I’ll leave the airport and bluetooth cards untouched.
processors and memory #
First things first - let’s look at our new processors
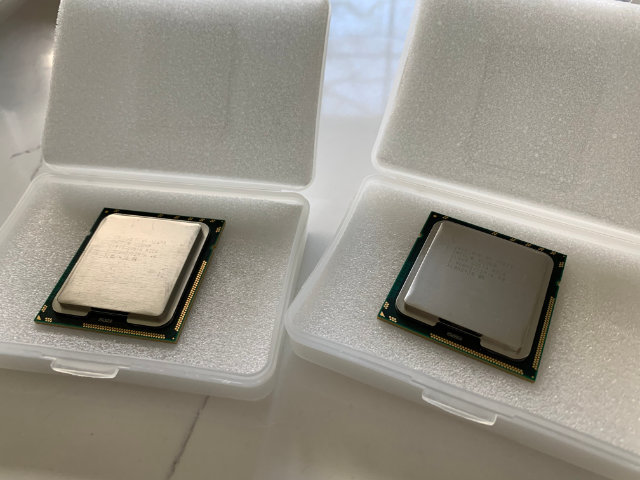
Figure 1: A Pair of Xeon 5690 (32 nm 6 core, 12 thread 3.46 GHz)
Removing the tray is simple enough. The edges are sharp, so I recommend being careful here. Keep the tray level, and be ready for it to be a bit heavier than you might expect.

Figure 2: The dual processor tray sliding out
Threading the long shanked torx driver through the heatsink can be tough. I find it useful to take a look from the side to get a clearer sense of how the shank gaps all stack on top of each other. Loosen the retaining screws in a cross pattern, a bit at a time to try to keep the heatsink level.
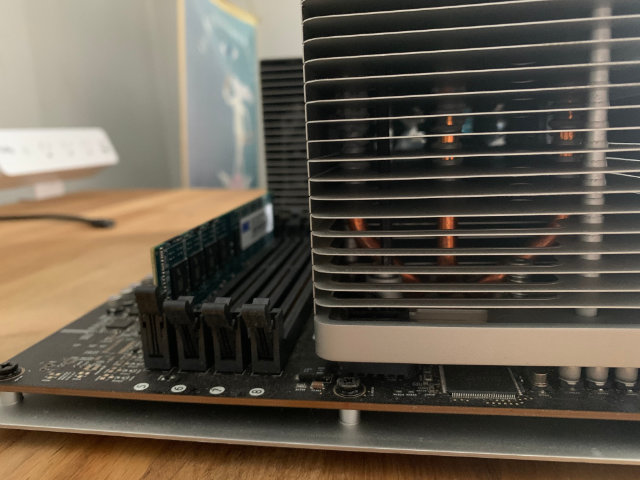
Figure 3: You can just see how the long torx driver reaches through the heatsink
The thermal paste is likely a full decade old at this point. What is that, a 4th grader? Something like that? It cleans up easily with some isopropyl alcohol and a few Q-tips.

Figure 4: Ten year old thermal paste
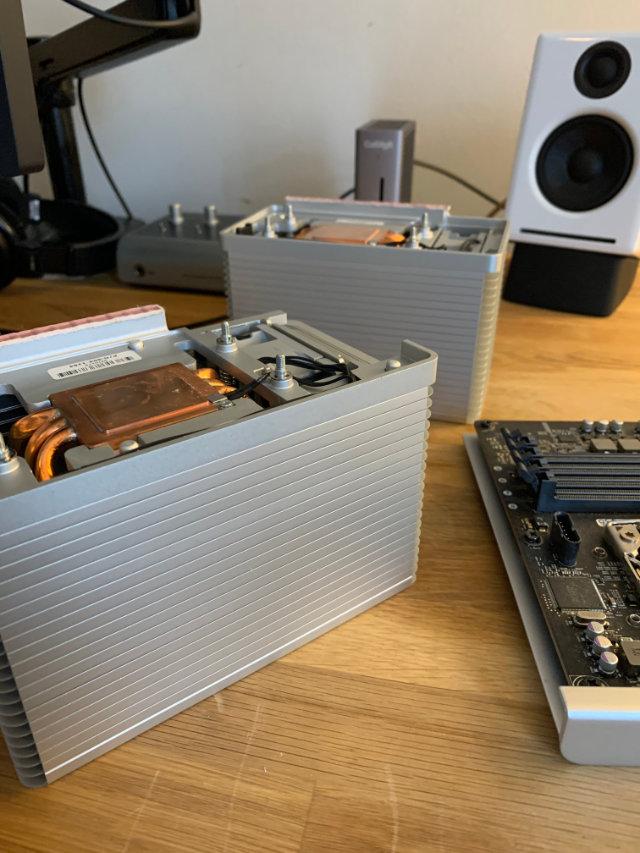
Figure 5: Cleans right off
The retaining clips are nice and easy, and dropping the new processors into place is a straightforward affair as well. Apply some new thermal paste, pop the heatsinks back on, and we’re ready to move on to memory.
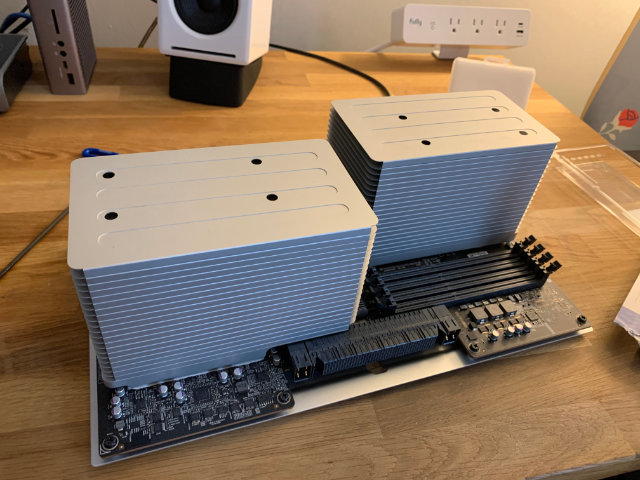
Figure 6: New processors, ready to roll
As I said before, almost every owner of a Mac with user serviceable RAM ended up tossing in a third-party stick or two. The only trick here is that we need to make sure that we’re running in triple channel memory mode, so I’ll deliberately leave one slot empty (slots 4 and 8, to be specific). One 16 gig DIMM in slots 1-3 and 5-7 will leave us with 96 GB of memory to play with.
And the blue is a great color.
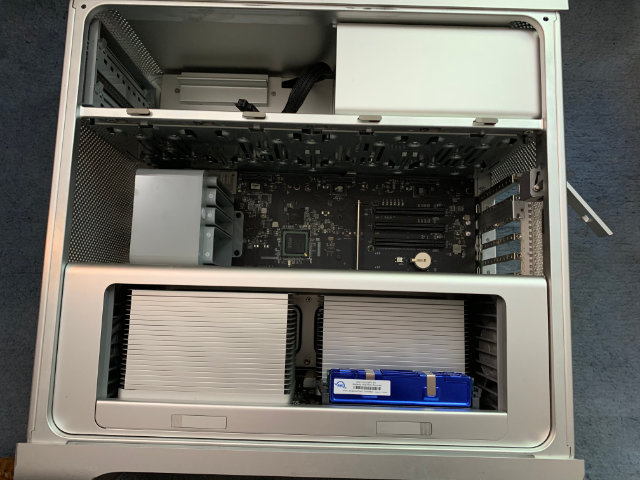
Figure 7: Blue definitely means it runs cooler.
performance #
With some healthy upgrades in place, let’s try to some synthetic benchmarks to see how far we’ve come.
As a reminder, our baseline compute performance, with 2 quad core 2.4 GHz processors and 16 gigs of 1066 MHz memory looked like this:
| Benchmark | Result |
|---|---|
| Geekbench 5 CPU, Single Core | 485 |
| Geekbench 5 CPU, Multi Core | 3160 |
| Cinebench | 1640 |
With the dual six core processors and the faster memory, we’re now sitting at:
| Benchmark | Result | Delta |
|---|---|---|
| Geekbench 5 CPU, Single Core | 641 | + %32.16 |
| Geekbench 5 CPU, Multi Core | 6412 | + %102.91 |
| Cinebench | 3090 | + %88.41 |
Our new Cinebench score puts us somewhere just below the AMD Ryzen 7 1700X and the Intel Xeon E5-2697 v2, and handily above the Intel I7-7700k for multicore performance.
bluray #
Let’s round the day out by replacing the optical drive. Another straightforward one, with one small wrinkle. I already had a LG WH16NS60 16x Internal Blu-ray BDXL M-Disc Drive, flashed for UHD rips in an OWC enclosure that I had been using to back up my media. I pulled the Blu-ray drive out of the OWC enclosure without issue. I removed the original DVD drive from the Mac Pro (the enclosure slides out when drive bays are unlocked, and 4 phillips screws are all that’s left to remove the optical drive). I elected to replace, rather than supplement the existing DVD drive; I don’t think there are circumstances wherein I’d want a DVD and a Blu-ray drive. If I find myself ripping a season or two of Blu-rays again, I could always put a second Blu-ray drive in there, and run two instances of MakeMKV (I think - that might be worth testing at some point. I don’t know that it can simultaneously address two optical drives).
The one small wrinkle - with the original front plastic plate on the new Blu-ray drive, it would not fit through the Mac Pro case’s small frontal slot. Luckily, it was simple to pop off the plastic front plate of the Blu-ray drive with a blackstick, and now the drive seems to work just fine.